How to create an appointment tag?
Tags can be useful in Jobrock to easily filter or find an appointment type. This article explains how to create tags to label appointment types.
| IN THIS ARTICLE |
|---|
| Why should I use appointment tags? |
| Where to create an appointment tag? |
| How to create an appointment tag? |
Why should I use appointment tags?
Where to create an appointment tag?

How to create an appointment tag?
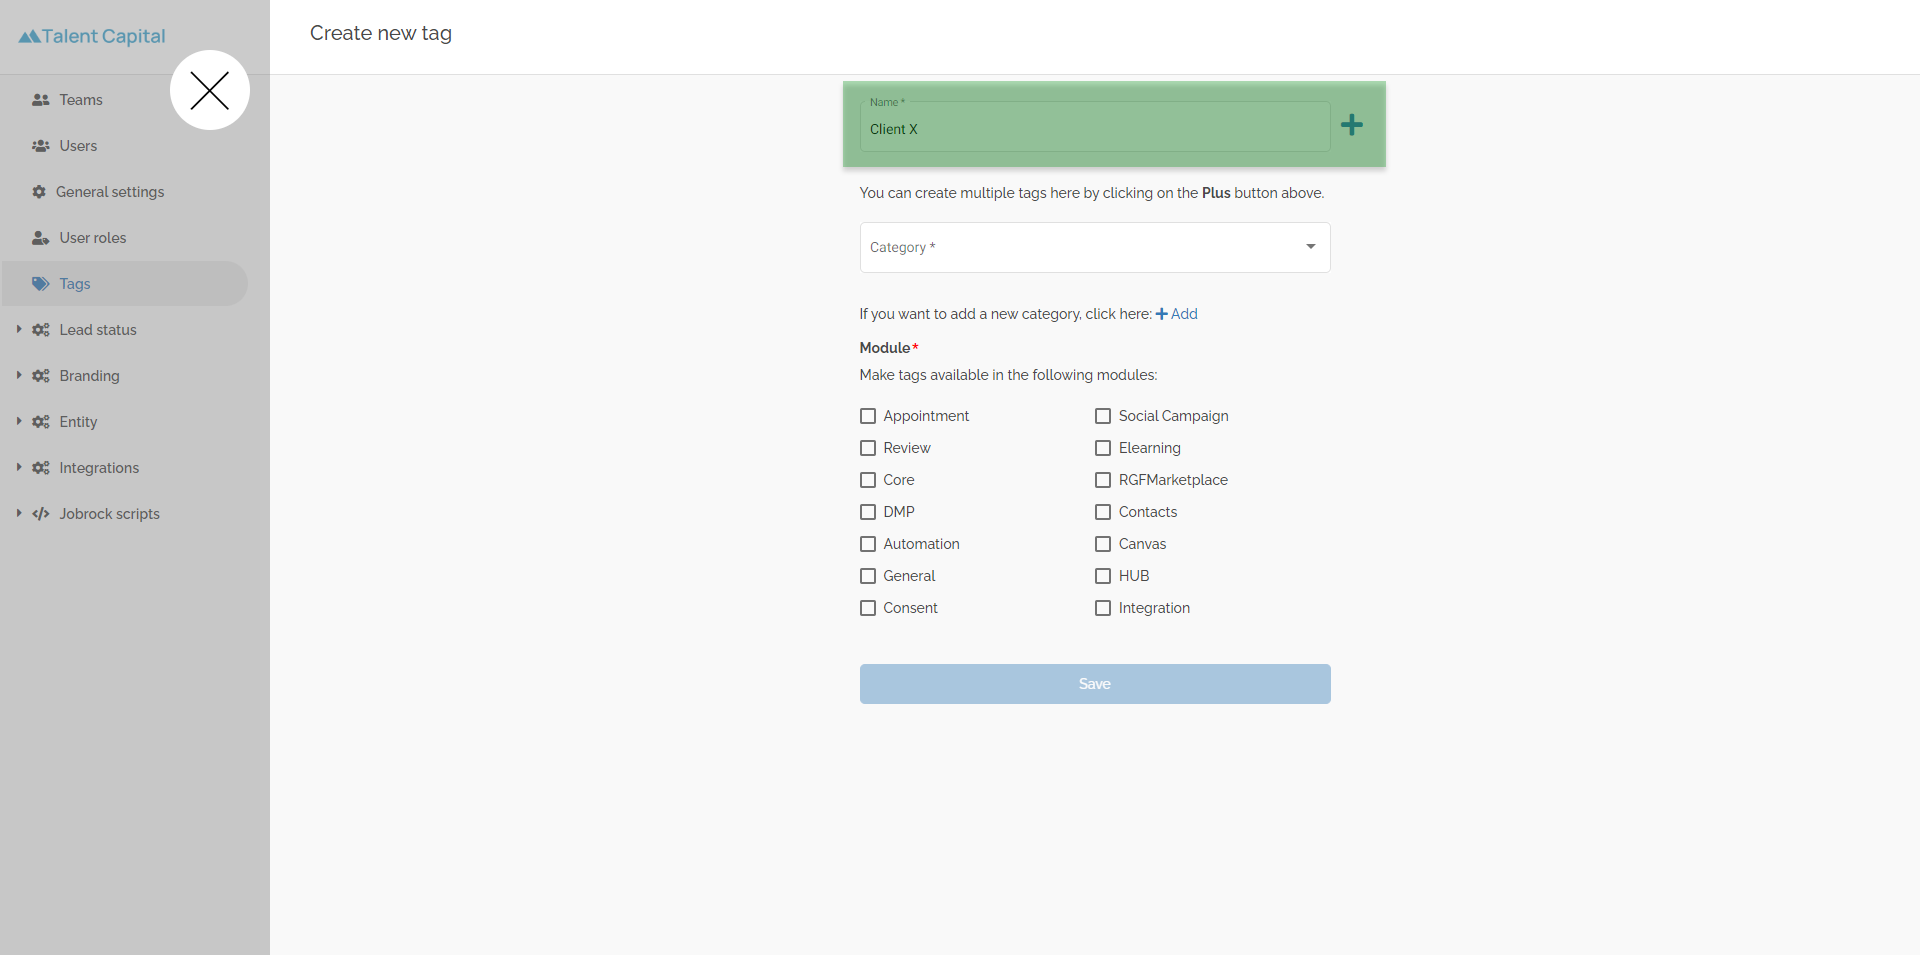
- Click the Create new tag link in the top right corner.
-
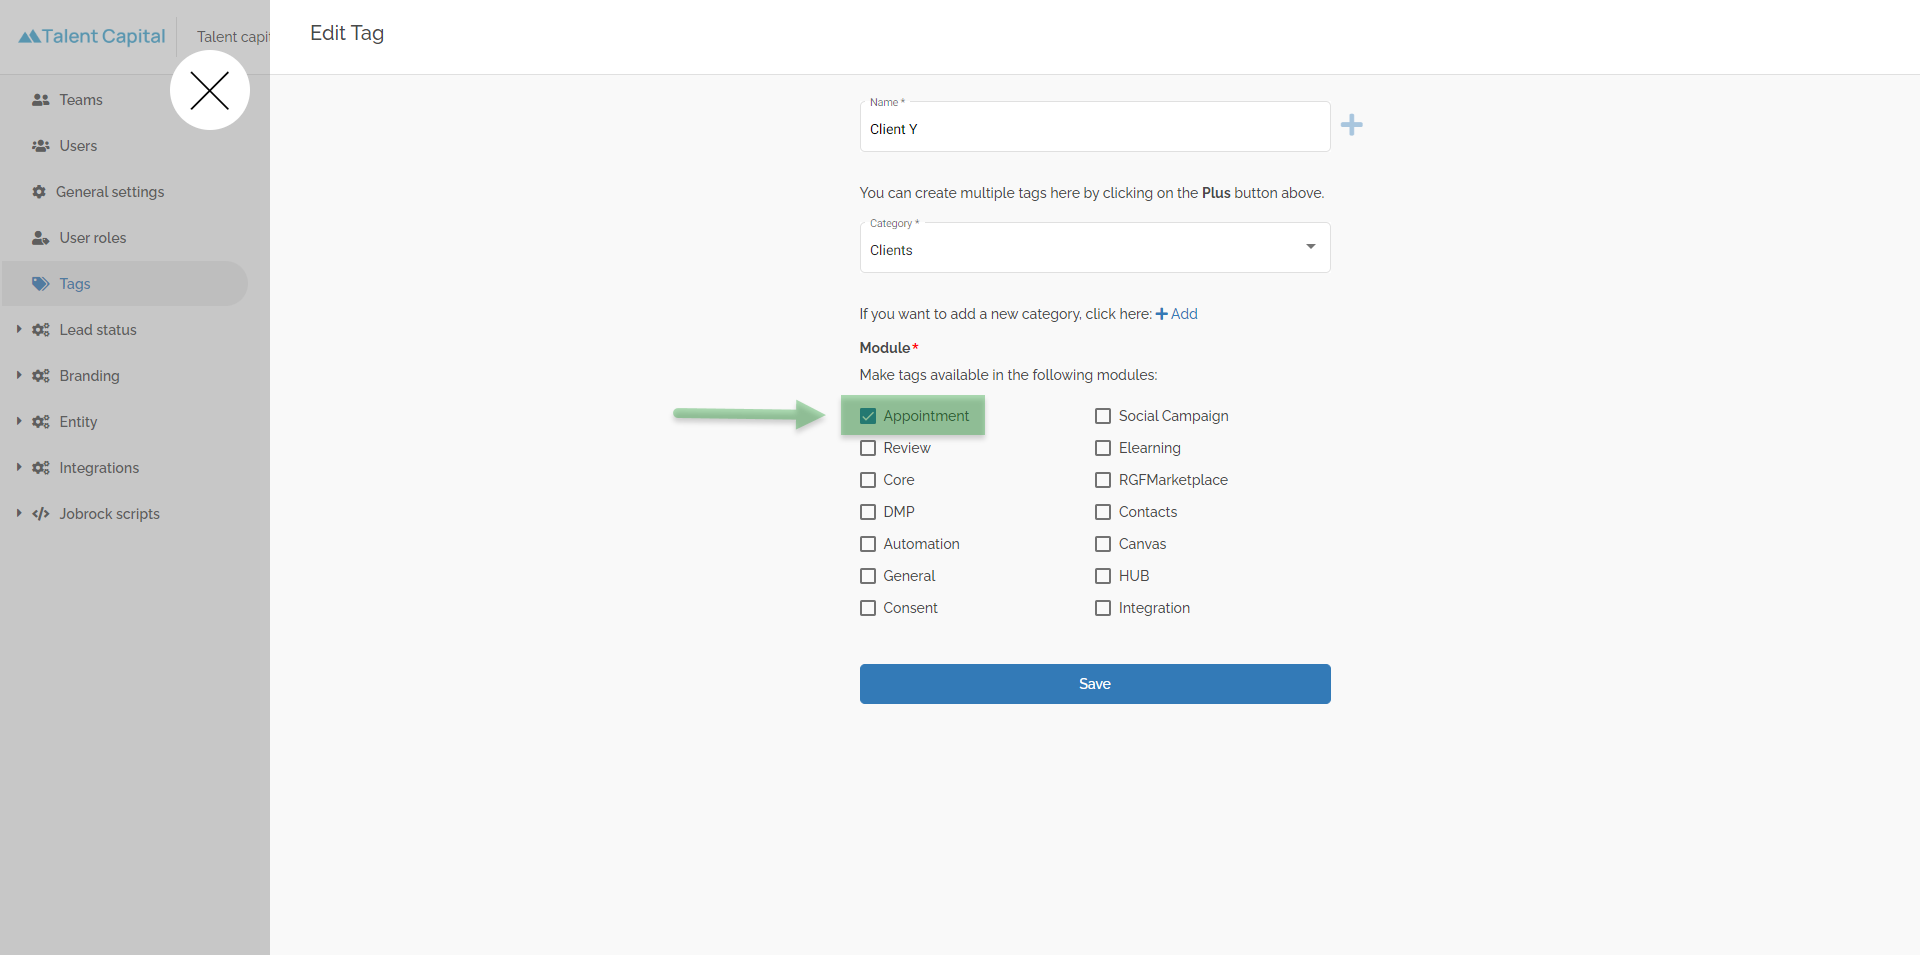
Add the name of the tag you want to create.
TIP: You can add multiple tags in one go for a specific category. Click the + sign to create a list of tags you want to create in one category.
example: in this example we create a tag for a specific client for which several specific appointment types are created. For all appointment types specially created for this client we would like to have a "Client X" label.
Enter the name of the tag you want to add. 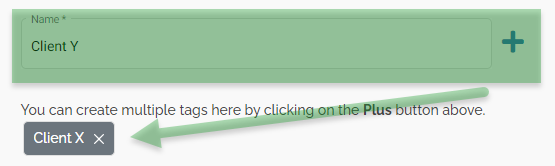
Use the + sign to create multiple tags at once. -
Select a category
Each tag needs to be added to a category. You can select from an already existing category or create a new category by clicking the + Add link.
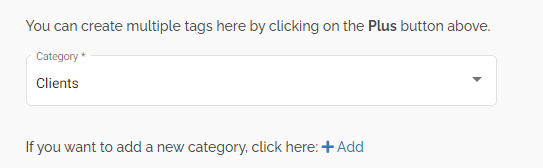
example: In this example we select the already existing "Clients" category
-
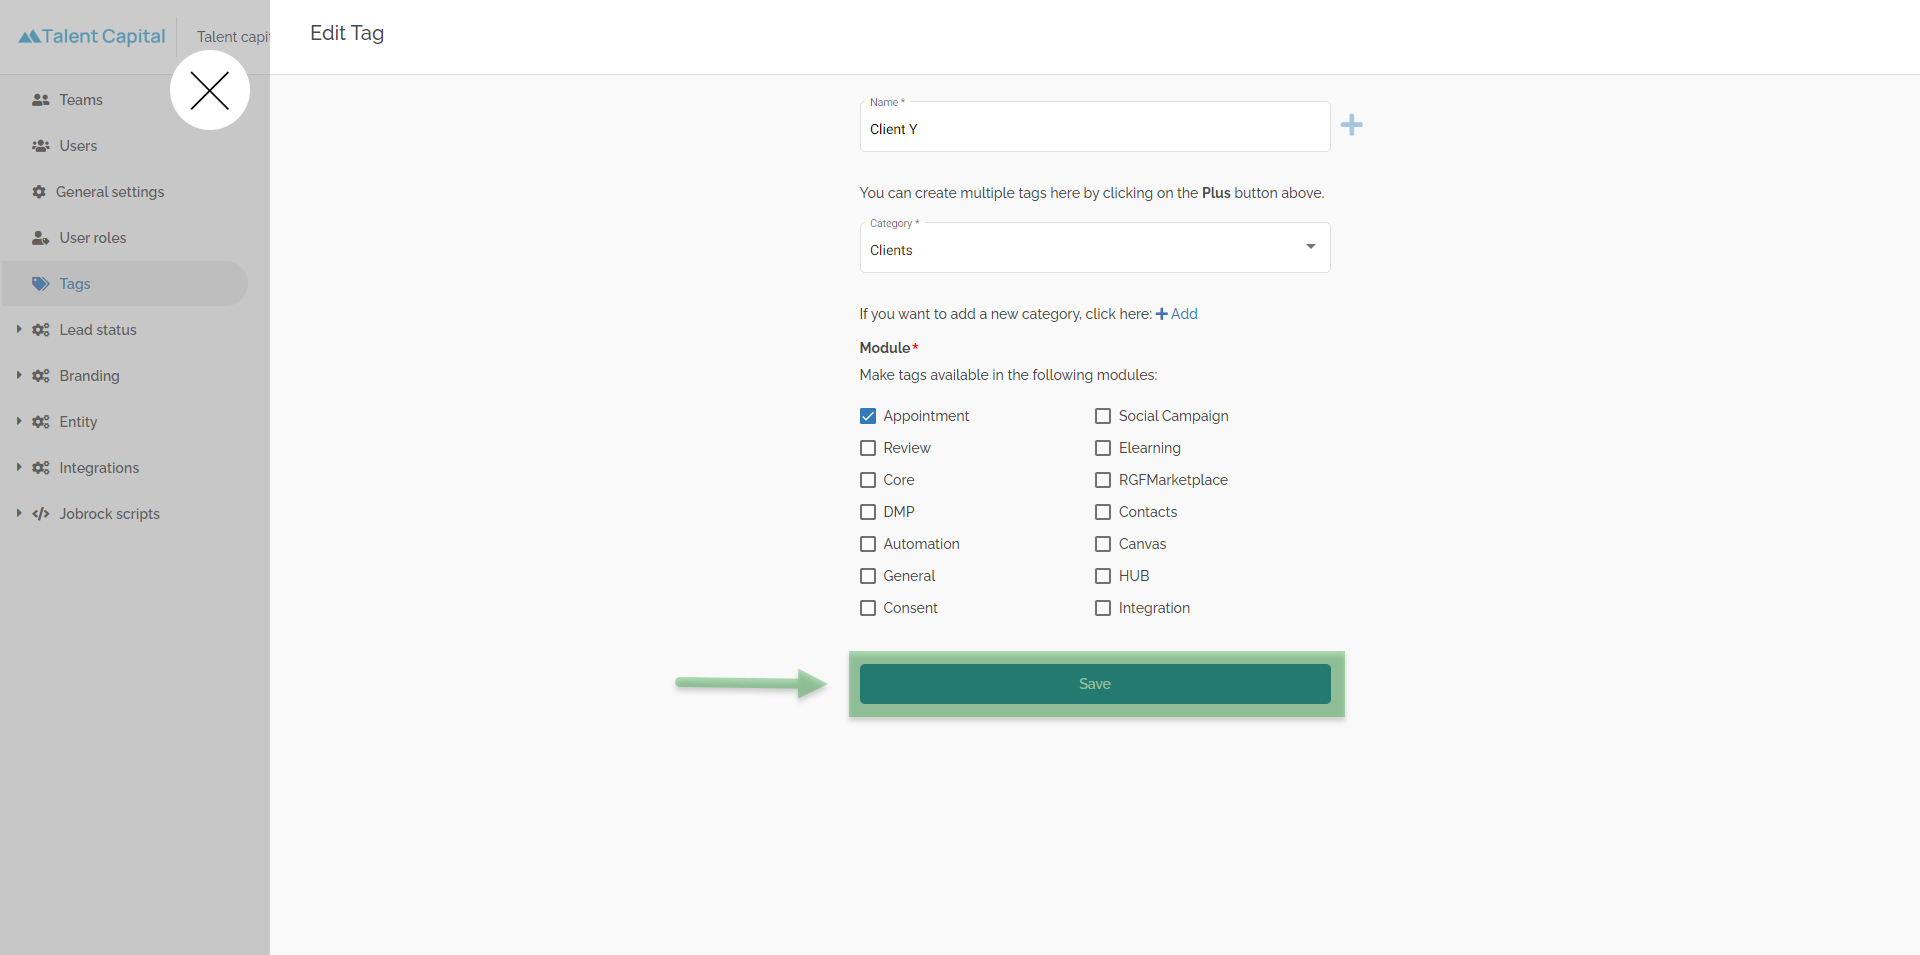
Select Appointment module
Tags can be used in different modules throughout the Jobrock suite. In order to use tags to label an appointment type select the Appointment tickbox.
-
Save the tag
The last step is to save the tag. Click the Save button. The pop-up will close and the created tag will now be listed.