How to create a WhatsApp template (appointment reminder)?
This article explains how to create an appointment reminder WhatsApp template. This message will be sent to candidates to remind them of their upcoming appointment.
| IN THIS ARTICLE |
|---|
| Create new template |
| Basic information |
| Edit template |
| Configure variables |
| Save and submit |
Create a new template
-
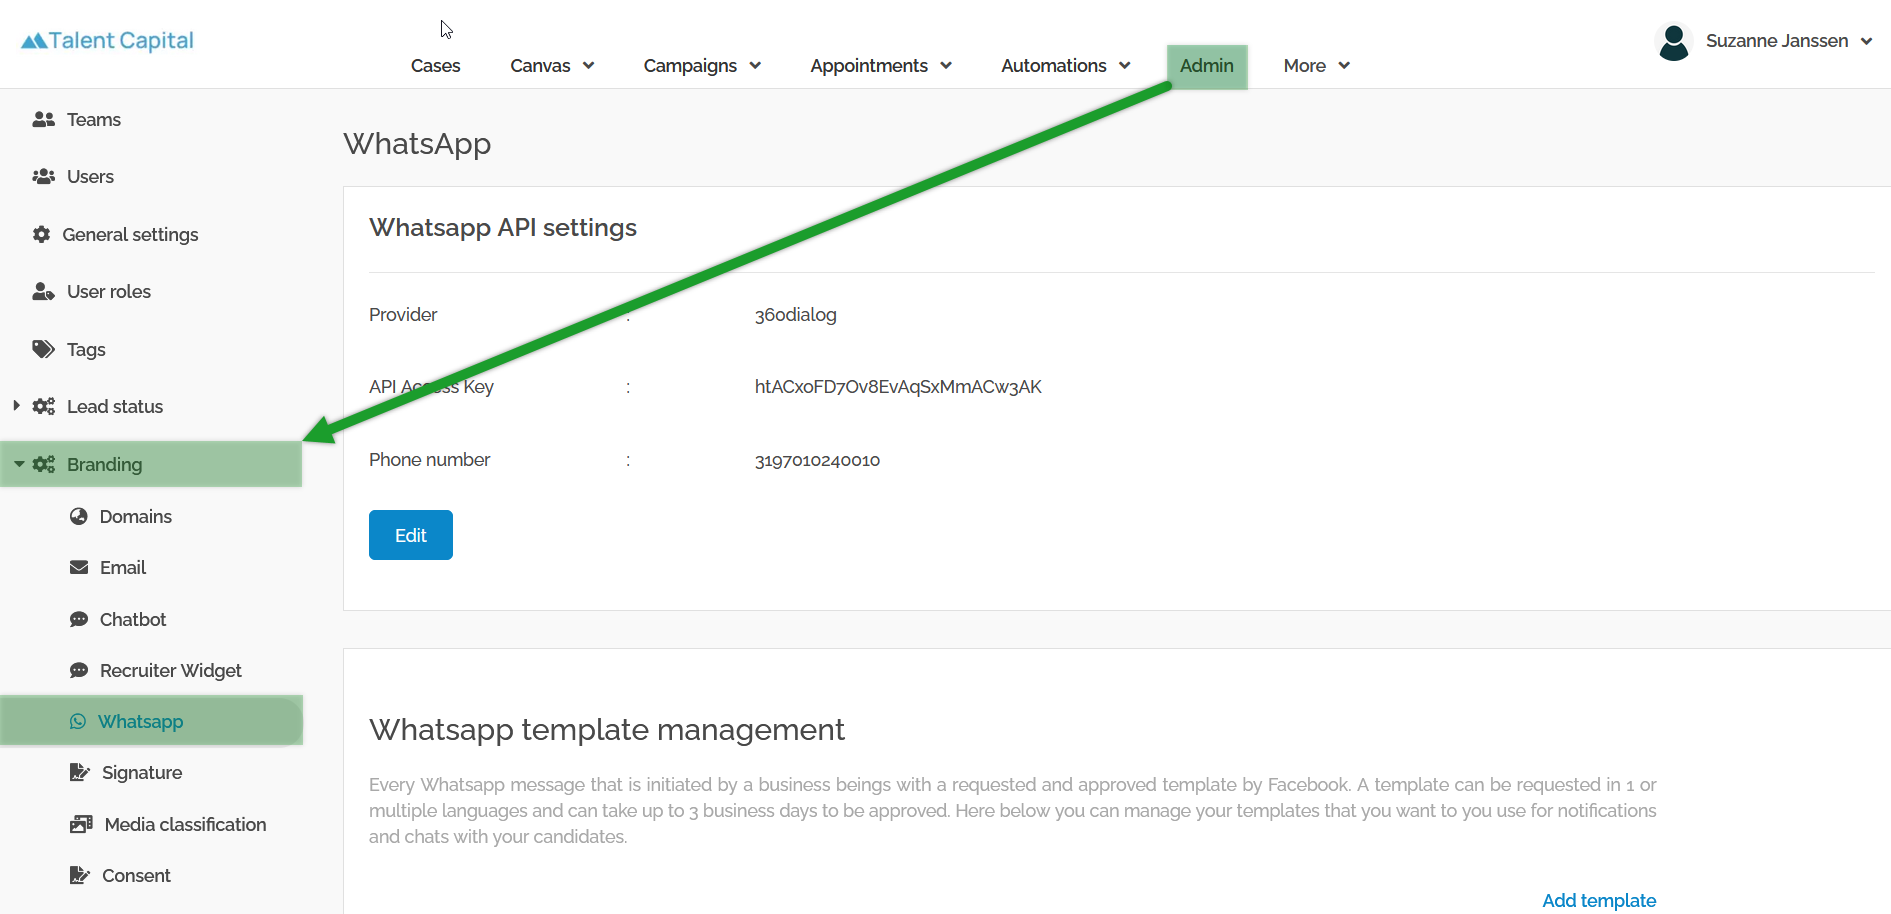
Go to the WhatsApp configuration screen in the Jobrock admin module via Admin > Branding > WhatsApp.
-
Navigate to the Appointments tab.
-
Click on the Lead tab.
- Click the Create new template button.

READ MORE: Click here for more information about different template categories and the difference between ''lead'' and ''contact'' templates
Basic information
-
Fill in the Name of the template, this is the name for submitting the template and you may not use upper case letters or spaces between words.
Example: generic_appointment_reminder
-
Fill in the Display Name of the template, this name will be shown when you are managing or selecting templates.
Example: Generic Appointment Reminder
NOTE: The names or display names of the template will not be visible to any recipients.
- Choose the Marketing category of the template.
RELATED ARTICLE: Read more about the different categories of templates.
-
Choose the Display Order of the template.
- Click Next to proceed to the next screen.

Edit template
-
Choose the Language of the template.
- Choose the template structure Media & Interactive.
RELATED ARTICLE: Read more about different structures of templates.
-
Select Header, Body, Footer and Buttons as your template building blocks.
- Choose Text as your header type

TIP: Consider using a video header instead of a text header to add a personal touch and establish a meaningful connection with candidates.
-
Fill in the Header for the template.
Example: Reminder: your appointment!
RELATED ARTICLE: Looking for examples in different languages? Read more here.
-
Fill in the Body Text for the template.
Example:
Hello {{1}}, we have a phone appointment on {{2}}. You don't have to do anything. I will contact you by phone.
RELATED ARTICLE: Use variables such as {{1}}, {{2}}, etc. to personalize templates with names, recruiter names, vacancy or appointment details, etc. Read more about variables here.
- Fill in the Footer Text for the template
Example:
Has something come up? Change your appointment by clicking the button below
- Select Call to Action as your button type and click Add Button.

-
Fill in the Button Text.
Example: Change appointment
- Select Appointment and select Reschedule Link.

- Click Next to proceed
Configure variables
- Click Add Variable on the positions 1 and 2 and select the relevant variable for that position in the text
Example:
{{1}} - Contact.FirstName
{{2}} - DateTime

- Provide Examples for all the variables.

Save and submit
- Click Save to submit your template.
NOTE: It can take several hours up to days before your templates is accepted.