How to create a WhatsApp template (appointment cancellation)?
This article explains how to create an appointment cancellation confirmation WhatsApp template. This message will be sent to candidates to inform them that their appointment cancellation was successful.
| IN THIS ARTICLE |
|---|
| Create new template |
| Basic information |
| Edit template |
| Configure variables |
| Save and submit |
Create a new template
-
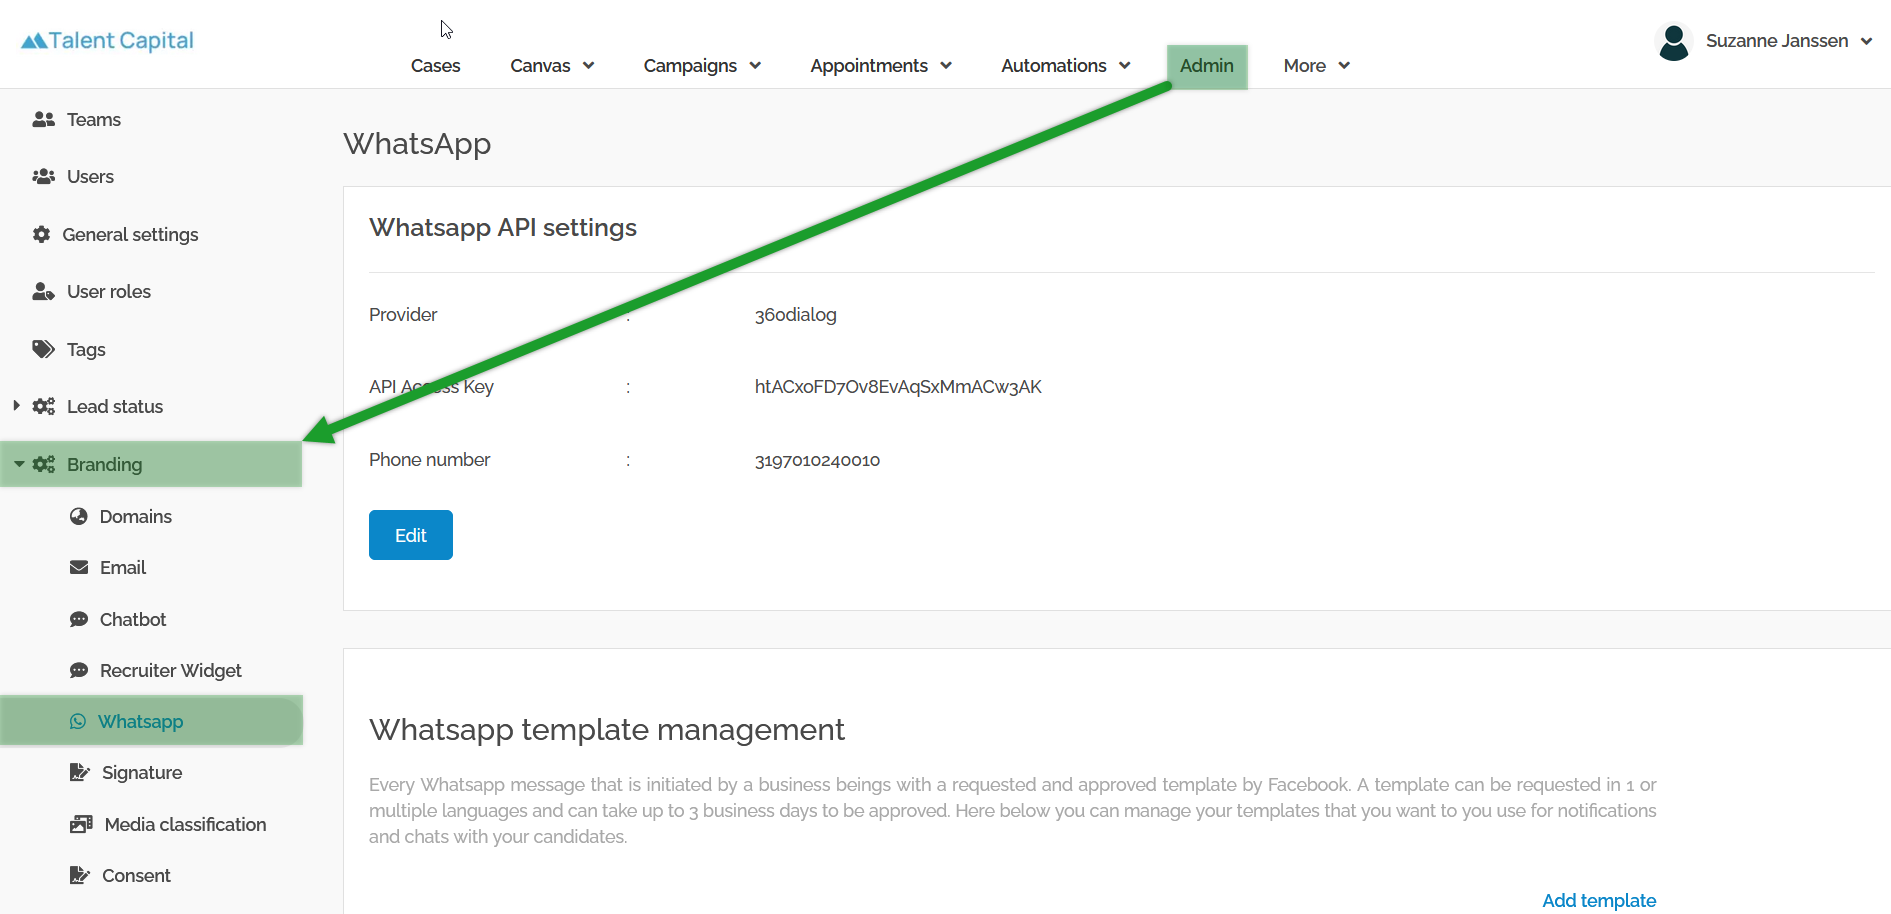
Go to the WhatsApp configuration screen in the Jobrock admin module via Admin > Branding > WhatsApp.
-
Navigate to the Appointments tab.
-
Click on the Lead tab.
- Click the Create New template button.

READ MORE: Click here for more information about different template categories and the difference between ''lead'' and ''contact'' templates.
Basic information
-
Fill in the Name of the template. This is the name for submitting the template and you may not use upper case letters or spaces between words.
Example: generic_appointment_cancellation
-
Fill in the Display Name of the template. This name will be shown when you are managing or selecting templates.
Example: Generic Appointment Cancellation
NOTE: The names or display names of the template will not be visible to any recipients.
- Choose the Marketing category of the template.
RELATED ARTICLE: Read more about the different categories of templates.
-
Choose the Display Order of the template.
- Click Next to proceed to the next screen.

Edit template
-
Choose the Language of the template.
- Choose the template structure Media & Interactive.
RELATED ARTICLE: Read more about different structures of templates.
-
Select Header and Body as your template building blocks.
- Choose Text as your header type

TIP: Consider using a video header instead of a text header to add a personal touch and establish a meaningful connection with candidates.
-
Fill in the Header for the template.
Example: Your appointment has been cancelled
RELATED ARTICLE: Looking for examples in different languages? Read more here.
-
Fill in the Body Text for the template.
Example:
Hi {{1}}, you have just canceled your appointment.
If you are looking for a great job in the future, I would be happy to assist you again.
Good luck, {{2}}.
RELATED ARTICLE: Use variables such as {{1}}, {{2}}, etc. to personalize templates with names, recruiter names, vacancy or appointment details, etc. Read more about variables here.
- Click Next to proceed
Configure variables
- Click Add Variable on positions 1 and 2 and select the relevant variable for that position in the text
Example:
{{1}} - Contact.FirstName
{{2}} - Vacancy.Contact.FirstName

- Provide Examples for all the variables.

Save and submit
- Click Save to submit your template.
NOTE: It can take several hours up to days before your templates are accepted.